顯示具有 nail art paint pen 標籤的文章。 顯示所有文章

2014年5月15日 星期四

Sondy do zdobień + przykładowe zdobienia by nie-codzienna

Witajcie, dzisiaj chciałam przedstawić Wam zestaw sond do zdobień. Akcesoria otrzymałam w ramach współpracy podjętej z internetowym sklepem KKcenterhk, za co bardzo dziękuję.


Komplet zawiera 5 sztuk dwustronnych sond zakończonych metalowymi, okrągłymi kuleczkami różnej wielkości. Koszt takiego zestawu to 7,99$ (klik)

Moim zdaniem:
Sama nie wiem dlaczego wcześniej nie kupiłam takiego zestawu, ponieważ sondy są po prostu świetne. Aplikacja cekinów, cyrkonii czy innych ozdób jest z nimi dziecinnie łatwa. Co więcej, za pomocą sond możemy wykonywać różnorodne wzory na paznokciach. Dzięki zakończeniom różnej wielkości możemy stworzyć wiele ciekawych zdobień, chociaż przyznam, że potrzeba do tego cierpliwości i stabilnej ręki.

Moje przykładowe zdobienia sondami do zdobień:

Kwiatki + hologramy
 Niebieskie kropeczki
Czerwone i czarne kropeczki
Kocie łapki

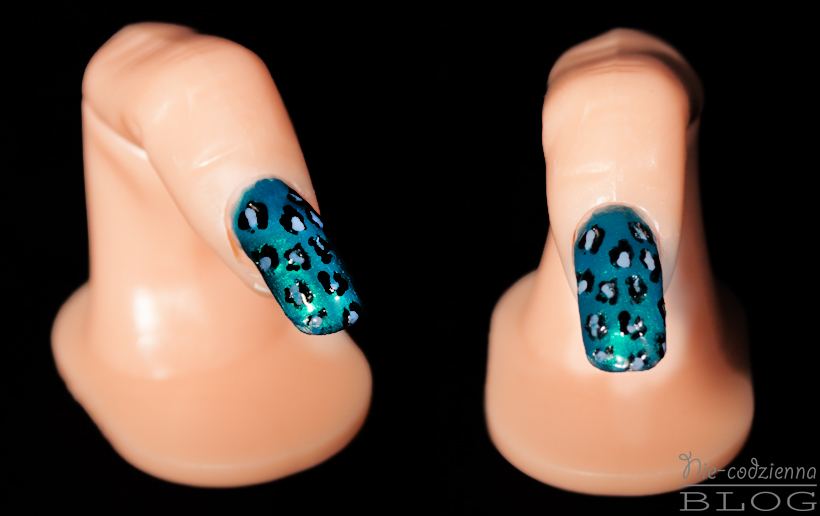
Panterka
Które zdobienie podoba Wam się najbardziej? 
Używacie sond do zdobień?


Read more: http://nie-codzienna.blogspot.com/2014/04/sondy-do-zdobien-przykadowe-zdobienia.html#ixzz31mZqBoWH


Thank you, nie-codzienna
Check out nie-codzienna blog
http://nie-codzienna.blogspot.hk/2014/04/sondy-do-zdobien-przykadowe-zdobienia.html

2014年3月31日 星期一

More KKCenterHK Products! by kissotchic

Happy Saturday! I have some more fabulous nail products to share with you from KKCenterHK! Dotting tools, water decals & glitter...oh my! Haha! Was that too lame? Give me a break...I'm trying to kill some time at work.
 

Dotting Tools:


 To create this look, I used the set of 5 dotting tools from KKCenterHK.  I definitely feel like a set of dotting tools is a necessary nail art tool to have in your arsenal! 

 
This last picture was taken in direct sunlight! Which do you prefer?


Circle Glitter:


This is KKCenterHK's 2.5 mm sized Silver Circle Glitter.  They look a little big on my nails, but let me assure you, I just have tiny nails.  I love these little circle glitters! They are perfect for placement at the top of the nail (like I did on my pinky, index & thumb)

 
Water Decals:

 
I am absolutely in love with these gold peacock feather water decals!  They were super easy to apply too!

 
I sponged a mix of peacock inspired colors as a base to apply the decals over.

 
KKCenterHK nail products never disappoint!  Make sure you go check out all of the fabulous products they have to offer! & don't forget to use the code "KISSOTCHIC" to receive 10% off of your order!


Thank you, kissotchic
Check out kissotchic blog
http://kissotchic.blogspot.hk/2014/03/more-kkcenterhk-products.html

2014年3月18日 星期二

Review of three KKCenterHK nail art brushes by piggieluv


Hey beautiful ladies! I have another review for you today, because I received these brushes from KKCenterHK to show to you! There's three of them in a set and I'll show you what you can do with them, like this example above! Click to read more!


KKCenterHK sells lots of different sets with nail art brushes, you can see them here. I received the N.Nail set with three pointed brushes. All three of them have long handles for better control, the hairs are synthetic and they're set in metal to make cleaning them really easy!

The big brush is really easy for thick lines, and filling in larger surfaces. The medium brush suits me well for some large details in art work. The small brush is meant to be a detail brush, and it will perform this task pretty well. Although I must say, for the kind of artwork that I like to do, it's just not small enough. The most important part of a detail brush is a sharp tip, and this one is just a bit too rounded.
I put these brushes through hell testing them out. I tortured them with lots of different things like pure acetone, alcohol, non-acetone remover and ofcourse, nail polish. They stood the tests really well! The biggest problem you see with brushes like this is that the hairs start to fall out. But these held it together really well, I must say!


And this is just an example of how to use these brushes. Because what do you do with paint brushes? You paint. So I painted! I don't think I've ever uttered the word 'paint' so many times in one article :-p

My lighthouse is crooked, so please don't pay attention to that, even though I just totally called your attention to it...
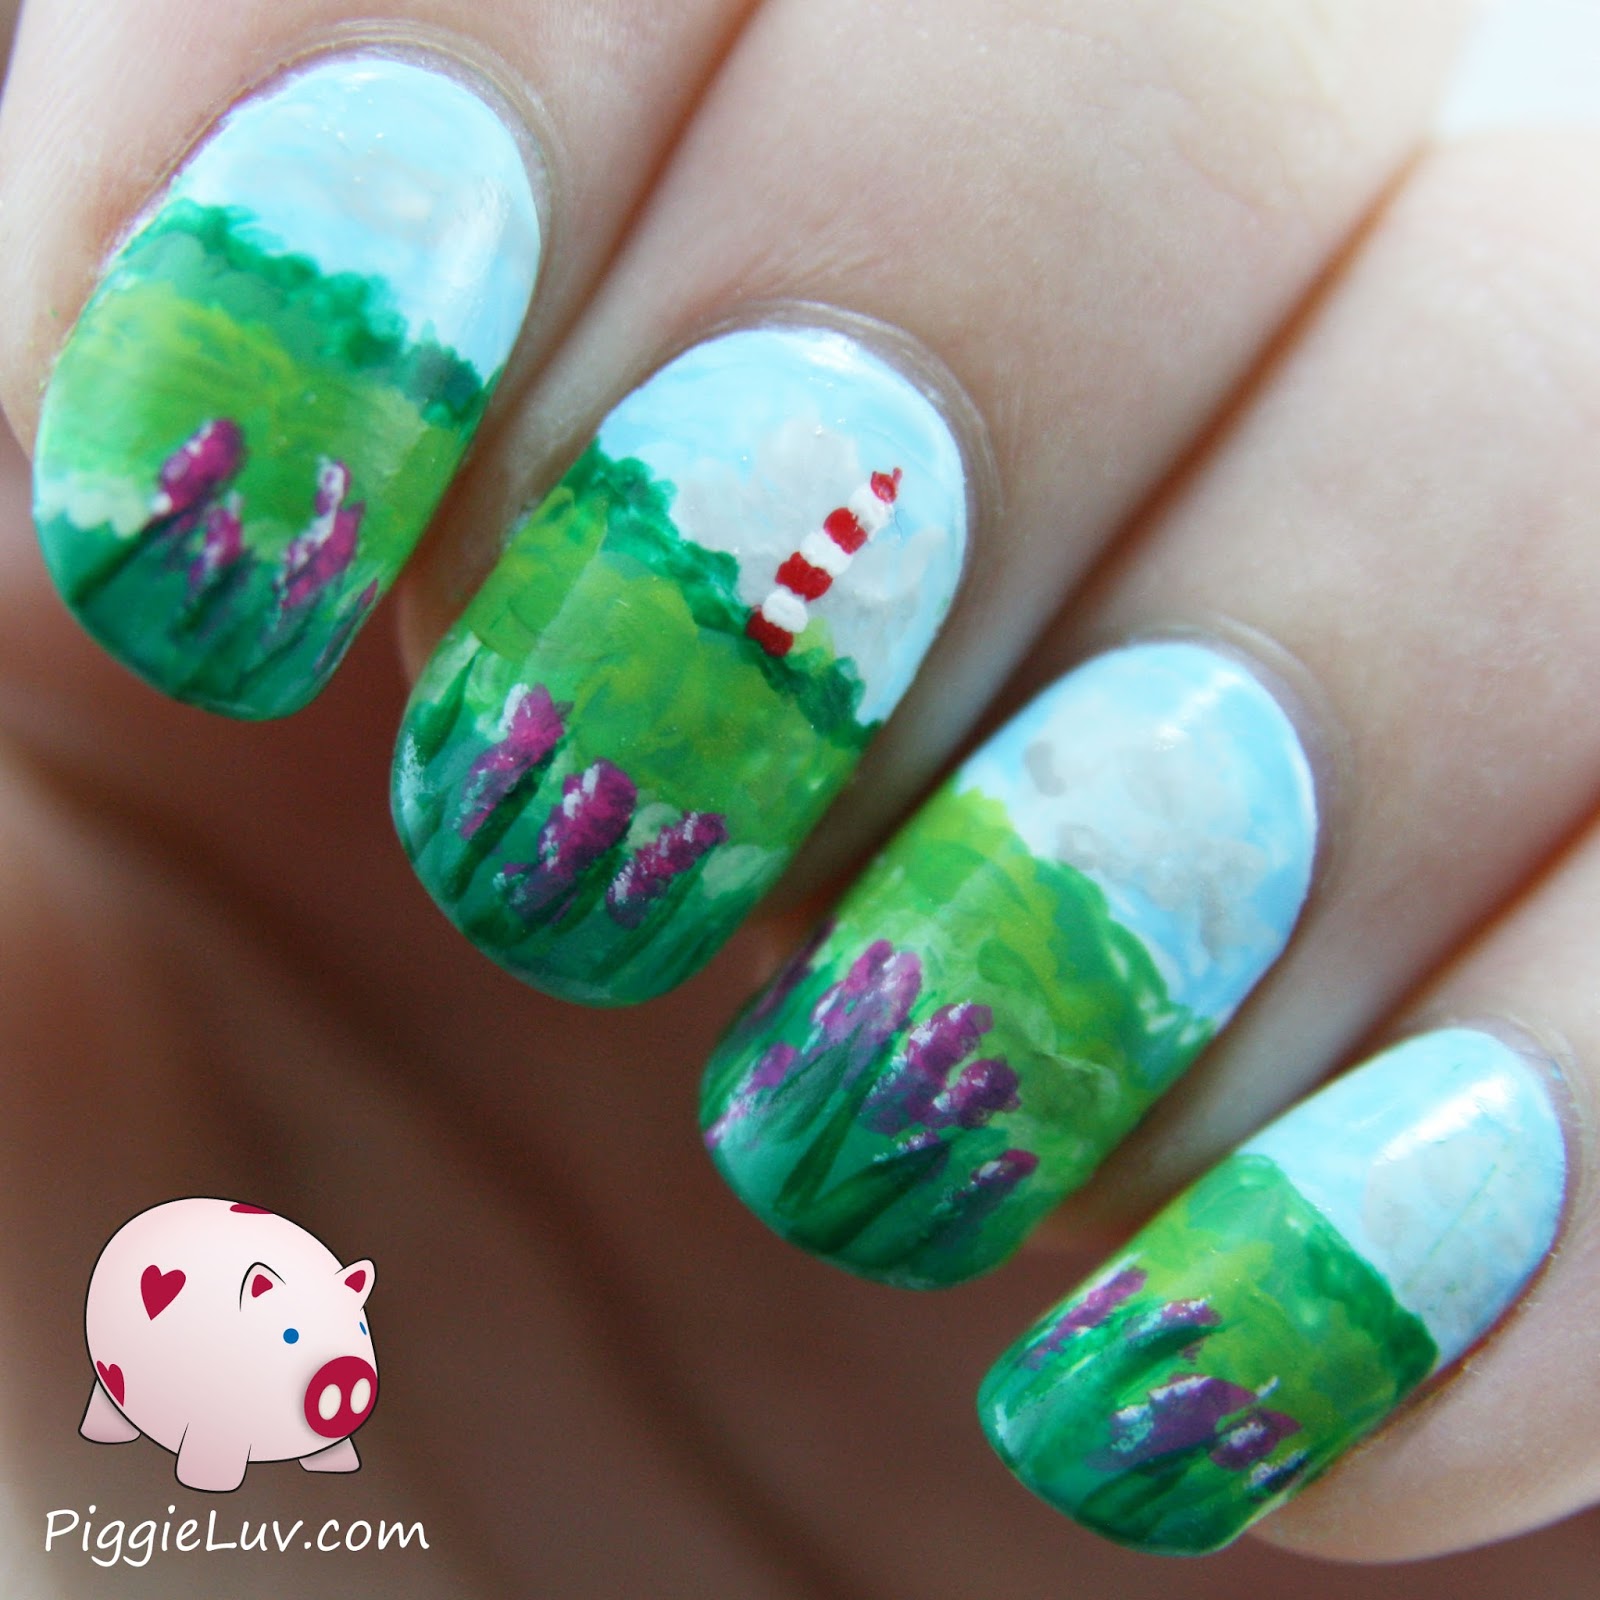
I used the big brush to fill in the nail with blue at the top and green at the bottom, creating a 'base'. Then I used the medium brush to create the differences in greenery, the clouds and the accents in the clouds.

The lighthouse, the flowers and the green leaves of the flowers were painted with the small brush. It can be used in many ways, and because of the rounded tip I mentioned earlier, I chose to do a painting with loose details instead of something cartoon-like with straight, outspoken lines.

All of the artwork is done with acrylic paint, on a base of white nail polish (Only You White French) and finished with a top coat!

I thoroughly enjoyed making this art. I found this picture on the internet a while back, I used it as my inspiration. I love analyzing the painting, seeing what colors were used, how certain effects were created and how I can imitate it on a tiny, tiny scale!

The flowers in this picture were so much fun, because they didn't look like much at first. But when I added some small, easy details, suddenly they look like flowers!
This was my inspiration. It was painted by a Dutch artist called Herman Buijtenhuijs. Sadly, he died in 2010, but someone was maintaining a blog with all of his artwork on it, and that's where I found it. He painted a lot of beautiful paintings of Ameland, his favorite area of the Netherlands. It's near the North Sea shore, that's why there's a lighthouse in the painting and I really liked this little detail!
And while making a painting, I also make a mess! Don't worry, I cleaned it up.

You can find these brushes on the KKCenterHK website in the section Art/Acrylic/Gel brushes. They have many different sets and it's fun to browse through them and see which set best suits your needs.

Thanks for reading, don't forget to share and ofcourse feel free to come back any time! - See more at: http://www.piggieluv.com/2014/03/review-of-three-kkcenterhk-nail-art.html#sthash.tbzxiyig.dpuf

Thank you, piggieluv
Check out piggieluv blog
http://www.piggieluv.com/2014/03/review-of-three-kkcenterhk-nail-art.html

2014年3月10日 星期一

Love is Blind...Colourblind!: Having fun with my new dotting tools! by varnishedvalkyrie

So I wasn't intended on doing Valentines nails but when I thought of this I had to do it!  Here's how it all started.  I have a fear of going blind(So romantic), and when I say fear, I mean terror.  The fact that for one hot moment they though I had glaucoma did not help it.  I decided to go online and look at forums that discuss this fear.  After doing that for a while for some reason I had this urge to look up "What do people see when they are colourblind?" And I started looking at these comparison pictures between normal vision, and different types of colorblindness, and it's kind of insane.  Then out of know where I thought of the saying "Love is Blind" and then I thought "Colourblind"  Random, I know.

OR maybe it's my subconscious speaking and this whole thing really about interracial relationships!  I don't know why my subconscious would do that though.  Trust me, the conscious part of me could have told you how they can be fab.  And you know the old saying "Once you go black, you may or may not go back.  It all really depends on the person, and what they are like on the inside.  Like their personality and blood type. You can never have too many kidneys."


Anyways this mani took FOREVER to finish. Apart from the bright orange on the index finger, EVERY other colour had to be mixed(acrylic paint) because I didn't have the colours I wanted in a cream form.  The actual shapes(X❤OX) and the dots themselves were easy to do.


Decided to mattify it.

AND one more fun thing.  Even though I'm sure my colours are off, if this is correct everyone with perfect colour will be able to see everything that's going on on my nails.  If you can't see red or green, the only thing you will see is half a heart.  And completely colorblind, you'll just see a bunch of dots.

This whole mani was done with my new dotting tools from KKcenterHk.  They are double ended and come in 5 different sizes.  One side of the dotting tool has varying sizes, and the other side the sizes are equal.  The blue dotting tool is the same size on each end.  These were easy to use, but in my opinion you only really need three of them.  Small, medium and large.  It's very easy to get the sizes in between with those tools alone, you just have to use more or less polish or paint.  But overall I'm glad I have these.  Prior to this I had two dotting tools, and they were both the really small ones.

If you would like a set like this for yourself, head on over to KKcenterHk where it retails for $7.99 USD.  And use our 15% discount code(which is only valid for another month): varnishedvalkyrieevent15off 


*Product sent for honest review


Thank you, varnishedvalkyrie
Check out varnishedvalkyrie blog
http://www.varnishedvalkyrie.blogspot.ca/2014/02/love-is-blindcolourblind-having-fun.html