顯示具有 Water Decals 標籤的文章。 顯示所有文章

2013年10月9日 星期三

KKCenterHK review By bedizzlenails

 Hi all,
I was contacted a few weeks back to do a review for KKCenterHK. This is an Asian cosmetic supply company and they have some very neat nail items also. 
They sent me three items to review.
First up is the leopard feathers water decal. It's a very unique leopar print feather. If you have to paint this by hand it would take forever because it is such a very small and detailed pattern.
(Picture credit to KKCenterHK: item #NNAIL-WDSY1745)
I put the design over a ombré nails, and I love this combo! 
It's very easy to use. I cut out a small pice of the decal and dipped it in water and slowly removed it the decal and placed it on the nail. I waited a few minutes for the decal to dry before I put the topcoat on it.
They also sent me these cute little star studs
(Picture credit TK KKcenterHK: item #NNAIL-DRN616)
I LOVE these star studs so much, they're so beautiful!


Lastly, the nail foil! I love how unique this foil gives! This can never be done with nail polishes. The only downside is that you cannot use the fast dry topcoat with it, it will crinkle the foil and makes it look really wrinkle. 
(Picture credit to KKcenterHK: item #NNAIL-E24)

Before beginning, apply your basecoat + polish and allow to dry completely. I recommend at least 2 layers of polish to provide stability. Foils are paper thin and will not provide support as nail polish does.
Here is the instruction
1. Apply a thin layer of glue and allow it to dry, about 2 minutes. The glue will turn clear.

2. While holding the foil, straighten it with your fingers so that its flat and not curved. Apply it to the nail. (Straightening the foil will help alleviate wrinkles and allow for a better application). Aim for the middle of the nail, it will serve as the base of the design.

3. Using a cotton swab, smooth the foil in the middle from the base to the tip. Smooth the right side, then left (or vice versa). Continue to smooth until the entire nail is covered.

4. Eventually the foil will lift on its own. Be careful not to smooth too roughly or the foil could fall off. Its important for the foil to stay in the correct place or the design could overlap or color go into the wrong section. If you have to, you can hold one corner in place with the adjacent finger (this may take some practice). Slowly lift the foil to reveal the design. Don't abruptly remove it. If you see any missed spots while lifting, simply push it back down and keep smoothing. Continue to smooth and lift until you have the results you want. I didn't use the topcoat for this one because the previous mani was crinkled up really bad.

These three are just a small variety of what KKCenterHK has to offer for nail supplies, make sure you check out there huge selection of the studs that they have, for the star studs check here, for the leopard feather here, and for the foil here Also if you haven't visited this site yet you should really go and check out all they have to offer for nail decor, make sure to use my 10% off (BEDIZZLENAILS) code below!!


Thank you, bedizzlenails
Check out bedizzlenails blog
http://bedizzlenails.blogspot.hk/2013/05/kkcenterhk-review.html

2013年4月18日 星期四

The Tri- Polish Challenge: Day 2, Easter Eggs & Bunny By nailphotosbylani

 Hello everyone!


When I had bought Easter water decals, I saw this Easter/ Spring nail art byShannara (from Nails and Stuff). So although this looks very different from hers, I got the idea to make a gradient as a background for the water decals from her water decal nail art.


I made this nail art in the last minute. If I had started earlier, I might have taken everything off because the surface of my nails became very bumpy after making the gradient, and I also managed to get some tiny hairs on when I top coated. But miraculously the second coat of top coat helped.


I started with white nails, used a sponge to make the gradient, and applied two thick coats of top coat. Then I applied the water decals. I wish my nails were longer. I cut one of the water decals, because I wasn't sure there would be enough room on my index finger. I had decided to try fake nails, but wasn't sure how to do it. And now I let the nails dry while I'm writing, before I'll apply one more coat of top coat.


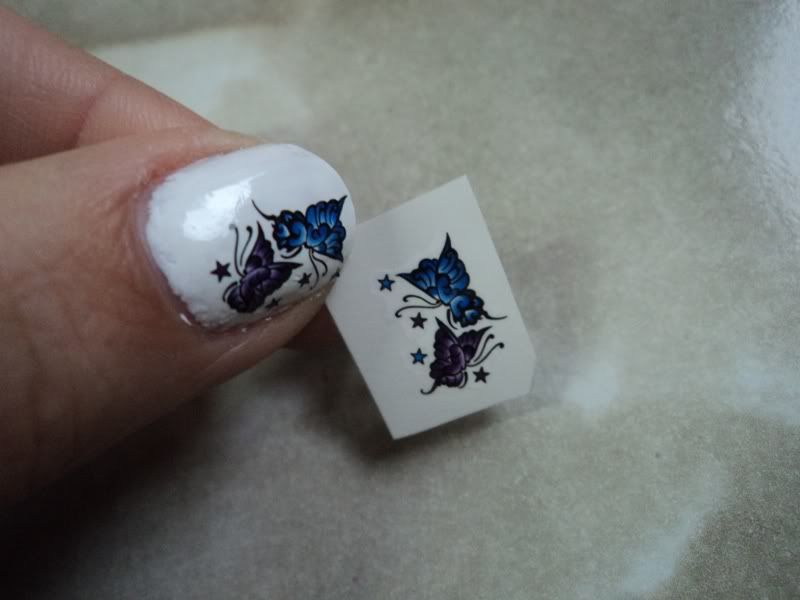
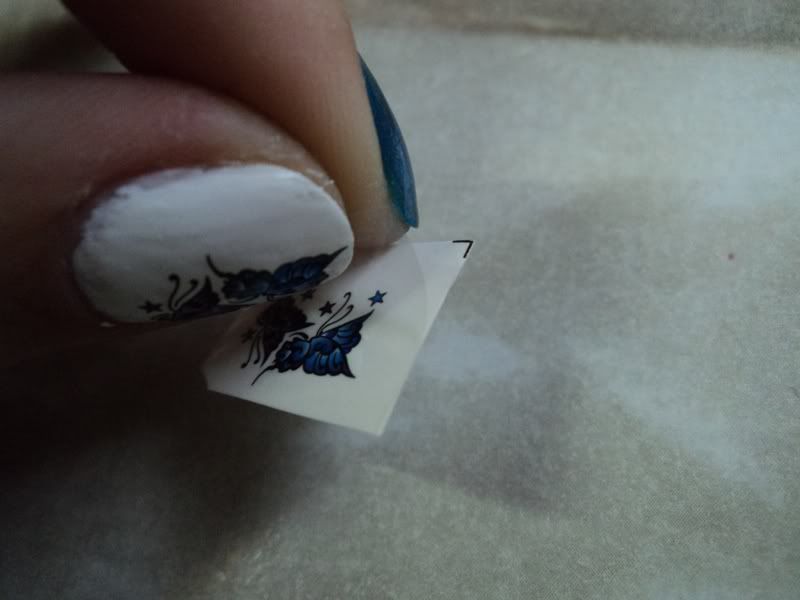
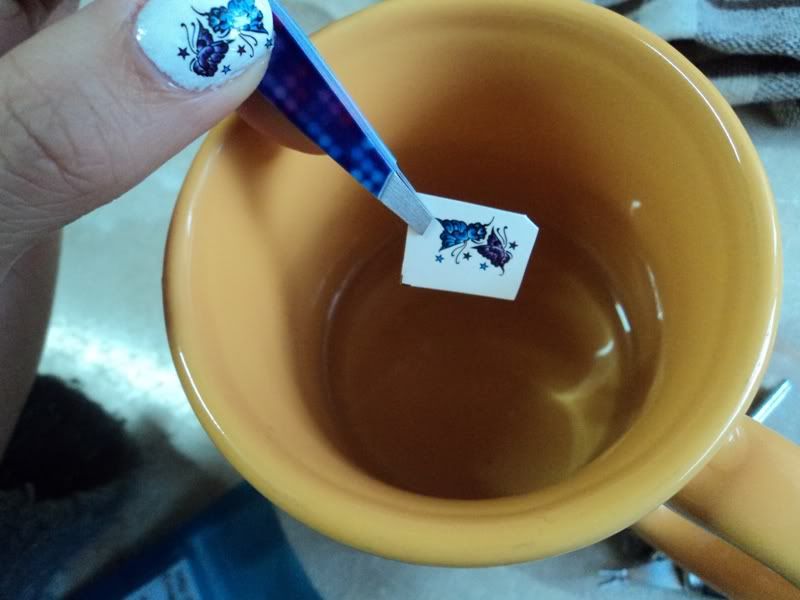
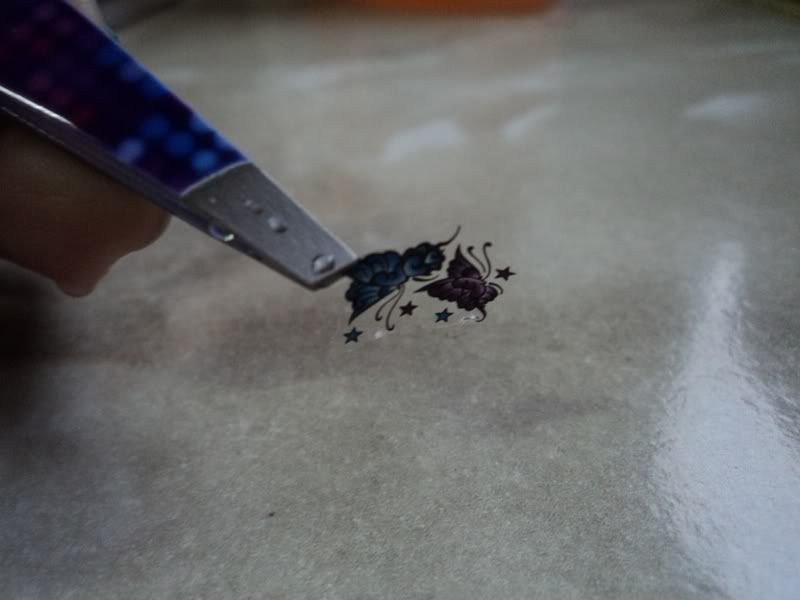
If you wonder how to use water decals, I've taken photos of how I did it in the panda nails post. But basically, you cut out the image, hold it with tweezers, and dip it in a glass of lukewarm water for about 15 seconds, wet the nail you want it on, and carefully slide it over to the nail (use a wet finger for that), dry it carefully with some tissue paper, let it dry, and add top coat.


As you see, I only used two of the Tri- Polish colors today: green and purple. Here is a list of what I used:

OPI: My Boyfriend Scales Walls- white
H&M: Mint Madness- green
Linda Johansen Nail Candy: Lilac Lilly- purple
sponge
base coat & a lot of top coat
N.NAIL Easter Water Decals Nail Art- WDBLE402 (These were not a gift from KKCenterHk. I bought these myself. But I do have a coupon code that will give you 10% off. You can find it on the right side.)


I'm sorry for posting a little late. I hope it's OK that I'm using water decals. Now I'm very curious about what the others have made.


Lani

03/21


Thank you, nailphotosbylani
Check out nailphotosbylani blog
http://nailphotosbylani.blogspot.no/2013/03/the-tri-polish-challenge-day-2-easter.html

2013年4月1日 星期一

KKCenterHK Review - Argyle Nail Decals By karinea0a


Good morning!
Well I have another review for you. You know I love decals. They are a fast and easy alternative to nail art and stamping. I was contacted by Maggie from KKCenterHKto review more products and these decals were part of my choice.There are 18 decals (2 different designs) on one sheet that retails for $6.39. Let's have a look at them.

Bonjour!
Alors, j'ai une autre revue pour vous. Vous savez déjà que j'aime les autocollants. Ils sont une alternative rapide etfacile au nail art et au stamping. J'ai été contacté par Maggie de KKCenterHK pour essayer certains de leur produits etces autocollants faisaient partie de mon choix. Il y a 18décalcomanies (2 modèles différents) sur une feuille qui se vend à 6,39 $. Jetons y un coup d'oeil.


Steps:
1. Cut each image that you want to use
2. Remove the plastic film (very important)
3. Soak your cut image into a glass of water (I always use tap water)
4. Slide the design with your finger/tweezer and place it on your nails while it's wet
5. I use Kleenex to dry and secure the design, then add my top coat and I'm done!


Étapes:
1. Coupez chaque image que vous souhaitez utiliser
2. Retirez le film plastique (très important)
3. Trempez votre image découpée dans un verre d'eau (j'utilise toujours l'eau du robinet)
4. Faites glisser le dessin avec votre doigt /pince à épiler et placez-le sur vos ongles pendant qu'il est humide
5. J'utilise des kleenex pour sécher et fixer le dessin, puis j’ajoute ma top coat et j’ai fini!


As usual, it was very easy to apply. The whole design transferred perfectly on my nails, that I previously painted with 2 coats of OPI I Don't Give A Rotterdam. There is also one decals that I applied without soaking it in water which means that you can also use them like nail stickers.

Comme d'habitude, ça été très facile à appliquer. Le design est bien sorti sur ​​mes ongles, peints auparavant avec 2 couches de OPI I Don't Give A Rotterdam. Il ya aussi unedécalcomanie que j'ai appliquée sans trempage dans l'eau,ce qui signifie que vous pouvez aussi les utiliser à sec.


KKCenterHK ships from China. If you want to purchasethese decals or just browse around the webiste, I have a 10% off discount code for my readers (below). There is a great selection of water decals starting at 2-3$. You can also check KKCenterHK on Facebook, KKCenterHK on Twitter, or KKCenterHK Blog for updates on new products and promotions. Thank you for reading and have a great day!

KKCenterHK poste de Chine. Si vous voulez acheter ces autocollants ou tout simplement naviguer sur le site web, j’ai un rabais de 10% pour mes lectrices (ci dessous). Il y a aussi un grand choix d’autocollants à partir de 2-3$. Vous pouvez également voir KKCenterHK sur Facebook,KKCenterHK sur Twitter, ou le blog KKCenterHK pour des mises à jour sur les nouveaux produits et promotions. Merci de me lire et bonne journée!

10% OFF with Coupon Code KARINE 
Valid until 01/31/2014 on KKCenterHK

10% de réduction avec le code KARINE 
Valable jusqu'au 31/01/2014 sur KKCenterHK

 *This product was sent to me for my honest review


Thank you, karinea0a
Check out karinea0a blog
http://karinea0a.blogspot.hk/2013/03/kkcenterhk-review-argyle-nail-decals.html#.UVQSfxeU_o9

2012年1月18日 星期三

KKCenterhk - Nail Water Decals by zusska


Nie pojawiam się tutaj często, gdyż zauważyłam, że czytanie cudzych blogów pochłania mnie o wiele bardziej niż pisanie własnego. Prawdopodobnie jest to związane z małymi środkami, które mogę przeznaczać na kosmetyki, a więc nie kupuję nowości, produktów limitowanych, ale kosmetyki, o których przeczytałam wiele pozytywnych opinii. W związku z tym nie tworzę własnych "wypocin", gdyż po co się powtarzać :) Mam nadzieję, że za jakiś czas się to zmieni. To tak słowem wstępu, a teraz zapraszam na recenzję :D

Water Decals dostałam w ramach współpracy z KKCenterhk. Jest to drugi produkt, który od nich otrzymałam. Pierwszy tusz wywołał u mnie mieszane uczucia zwłaszcza niedawno, gdy przeczytałam tę recenzję. Niestety, sprawilo to, ze mam mieszane uczucia do firmy, z którą współpracuję.

Informacje od producenta:

Moja opinia:
Produkt dotarł do mnie szybko, pozwolono mi również wybrać wzór, który chciałabym dostać. Nigdy wcześniej nie miałam do czynienia z tego typu ozdobami, dlatego nie do końca wiedziałam, jak ich użyć. Niestety, ale do produktu nie załączono instrukcji, dlatego dzięki informacjom w internecie jakoś sobie poradziłam :)


Oto jak użyć tego typu ozdób:
1.  Wycinamy element, który chcemy umieścić na paznokciu.
2. Odklejamy folię ochronną.
3. Za pomocą pęsety wybrany element umieszczamy w pojemniczku z wodą. Musi dobrze nasiąknąć, więc odczekujemy chwilę.
4. Kiedy papierek dobrze nasiąknie, "tatuaż" sam zacznie się przesuwać, wtedy zdejmujemy go z papierka.
5. Teraz trzeba postępować szybko, gdyż folijka z "tatuażem" lubi się zawijać, przykładamy tatuaż do paznokcia i dokładnie dociskamy. Niestety, nie ma możliwości wprowadzenia poprawek, gdyż po położeniu "tatuażu" na paznokciu, nie można go przesunąć.
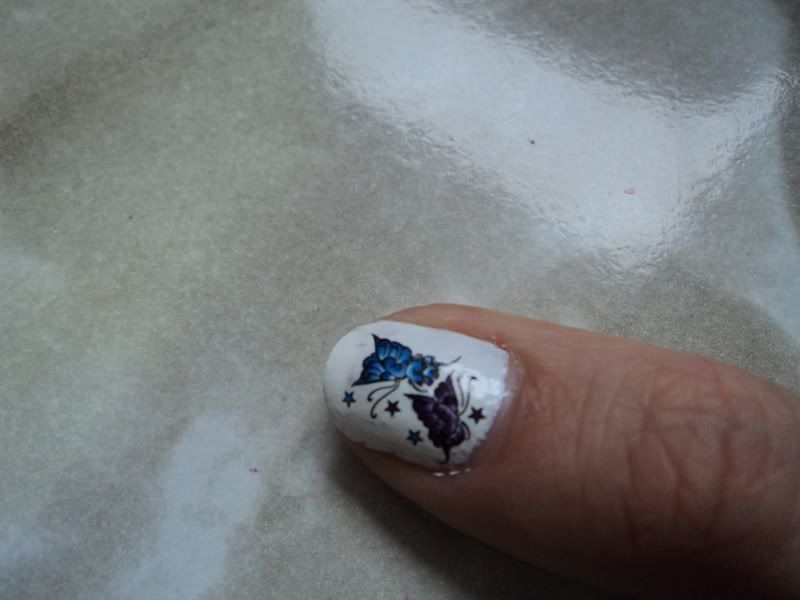
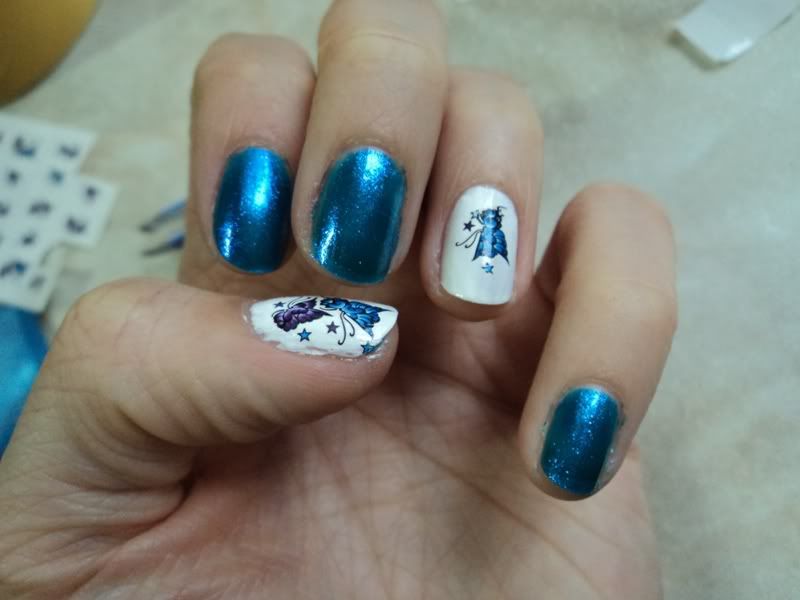
6. Oto efekt końcowy w moim wykonaniu. Całość warto pokryć top coatem. Lakiery, które użyłam to China Glaze( ten niebieski) oraz Miss sporty.
Zalety tej metody:
- pozwala szybko wykonać oryginalny manicure,
nie wymaga zdolności manualnych,
- tatuaż jest trwały,
- dostępnych jest wiele wzorów, dlatego każdy znajdzie coś dla siebie.

Wady:
nie pokryłam paznokci top coatem, a następnie użyłam olejek rycynowy, jak to mam w zwyczaju. Efekt? Na kleju przy tatuażu osiadły brzydkie "zabrudzenia", a manicure wymagał ponownego wykonania
jeśli nie zadziałamy szybko, tatuaż zwinie się w harmonijkę.

Podsumowanie:
Serdecznie polecam tę formę ozdób na paznokcie. Myślę, że dają duże pole do popisu i doskonale urozmaicą nasz manicure. Jednocześnie ostrzegam przed używaniem olejków, oliwek po nałożeniu "tatuaży".
KKCenterhk, I would like to thank you for receiving this product for review. I think it's a nice possibility to make an original and colourful manicure without having a lot of artistic skills. I hope, it wasn't our last cooperation.


Thank you, zusska
Check out zusska blog