2011年11月2日 星期三

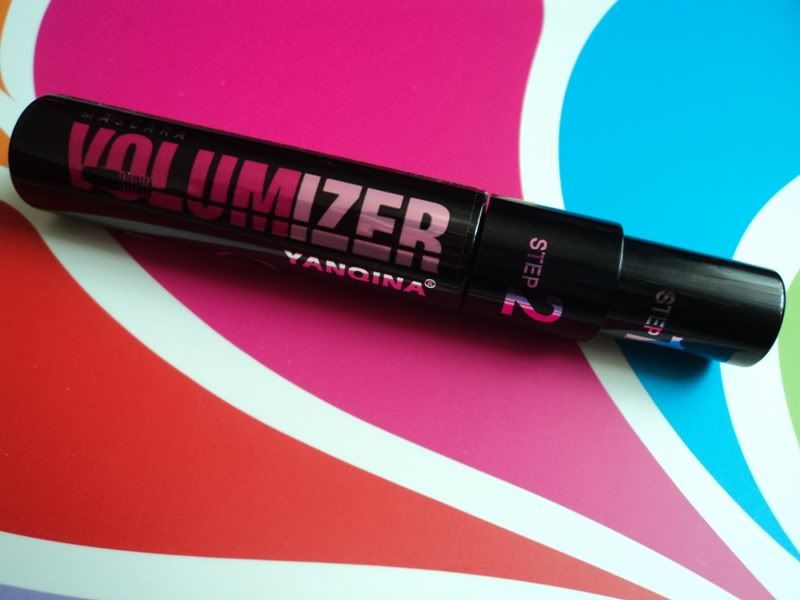
KKCenterHK YANQINA 2 in 1 Classic & Dramatic Dazzle Mascara By zusska

Dostałam tę maskarę już jakiś miesiąc temu, może dłużej, początki użytkowania były trudne,ale teraz wiem już jak z niej korzystać i jestem zadowolona.

Informacje:
Tym razem odsyłam Was nie tylko na stronę producenta, ale tutaj, gdzie znajdziecie bardzo ciekawe recenzje.

Strona sklepu kkcenterhk: klik

Moja opinia:
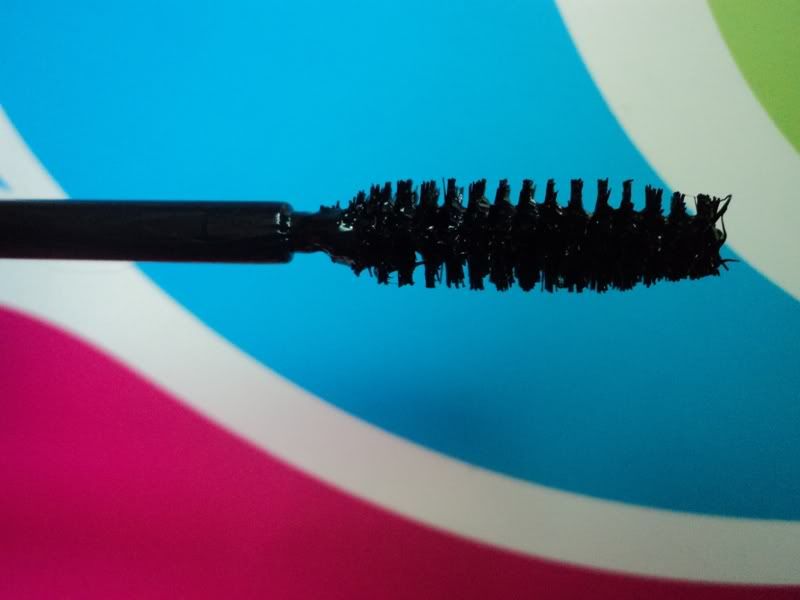
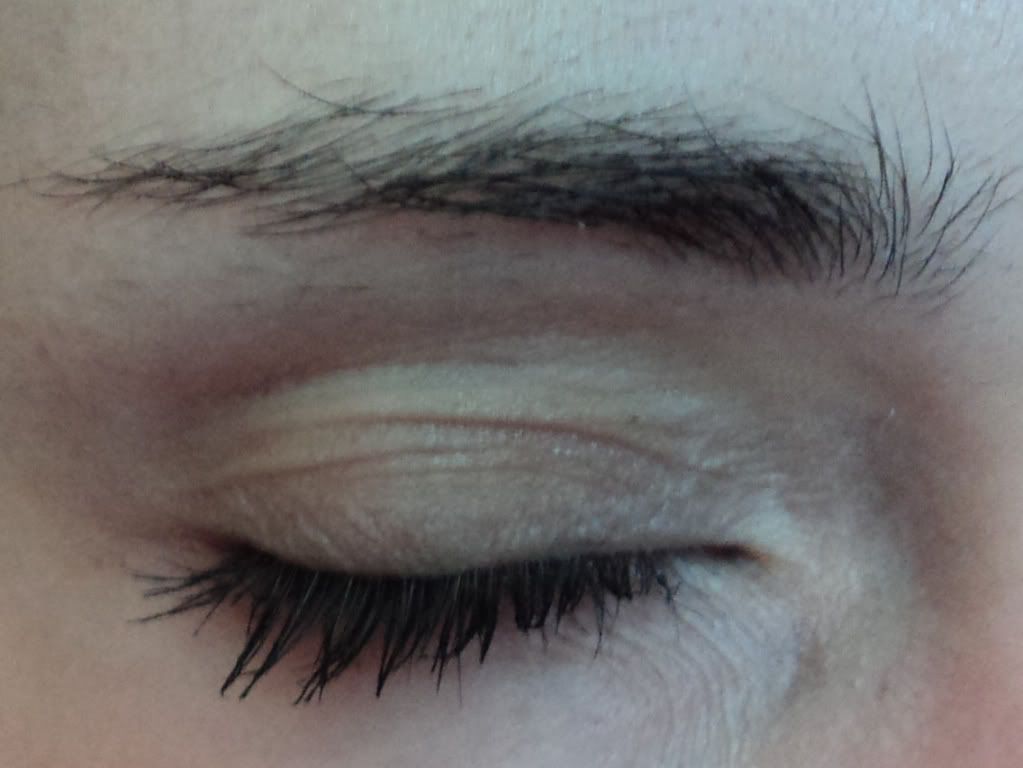
Źle użyta maskara skleja rzęsy - muszę to powiedzieć jasno i wyraźnie, bo właśnie tak wyglądały moje pierwsze rezultaty użytkowania tego produktu. Później dowiedziałam się, co robię źle. Lubię intensywnie podkreślone rzęsy, dlatego zazwyczaj korzystam z 1. i  2. kroku. Różnią się one ilością tuszu na szczoteczce. Moim zdaniem duża ilość tuszu wcale nie wpływa na jakość otrzymanego efektu. Dlatego maskarę używam po swojemu: najpierw krok 1., później odkręcam szczoteczkę do kroku 2., o szyjkę opakowania wycieram nadmiar tuszu i dopiero wtedy maluję rzęsy. Efekt? Wydłużenie i maksymalna objętość! Jeszcze żadna maskara nie dawała mi takiego efektu. Mimo to maskara ta ma wiele minusów: do użycia jej potrzeba dużo czasu, najpierw jedna warstwa, potem druga - to trwa. Jeśli malujemy rzęsy w pośpiechu albo skorzystajmy z innego produktu albo użyjmy tylko kroku 1. Inaczej możemy skleić rzęsy i wszystko będzie trzeba robić od nowa. Szczoteczkę trzeba delikatnie przykładać do rzęs, jeśli mocno przydusimy, duża ilość tuszu na nich osiądzie, a co za tym idzie - sklei rzęsy.
Minusem może być też opakowanie: maskarę użyłam może max 10- krotnie, a mimo to napisy już się ścierają. Szkoda, bo za tę cenę jakość powinna być duża.
Podsumowując: mam mieszane uczucia do tej maskary - swoją rolę spełnia, daje ładne podkreślenie rzęs, ale aby to osiągnąć, na malowanie trzeba poświęcić trochę czasu i przede wszystkim robić to na spokojnie.

Zdjęcia:
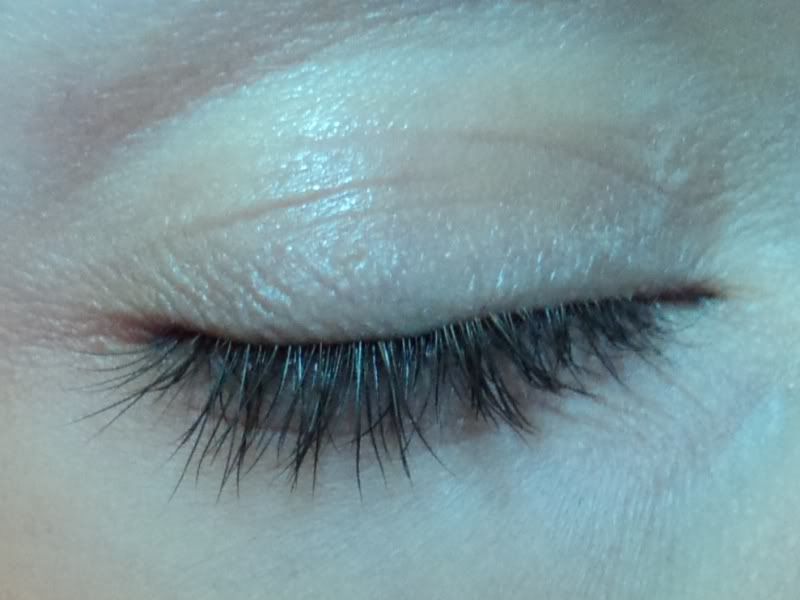
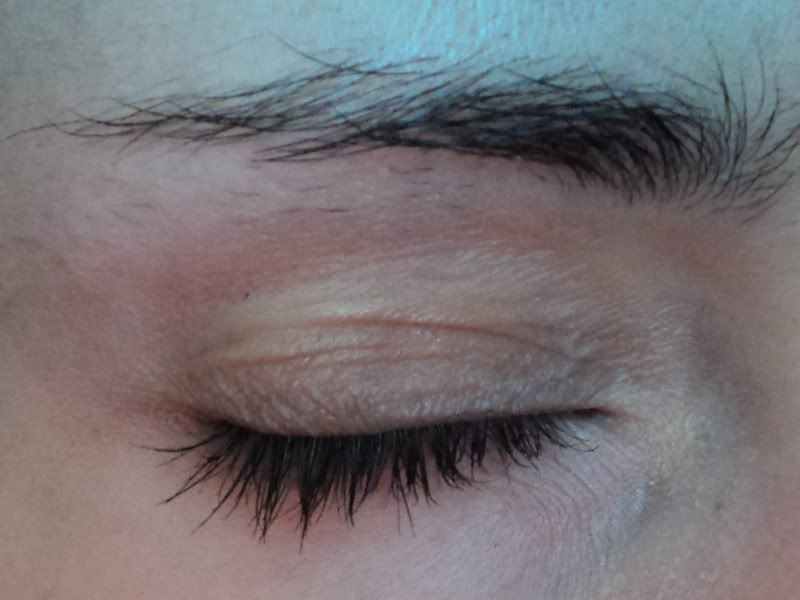
bez tuszu:

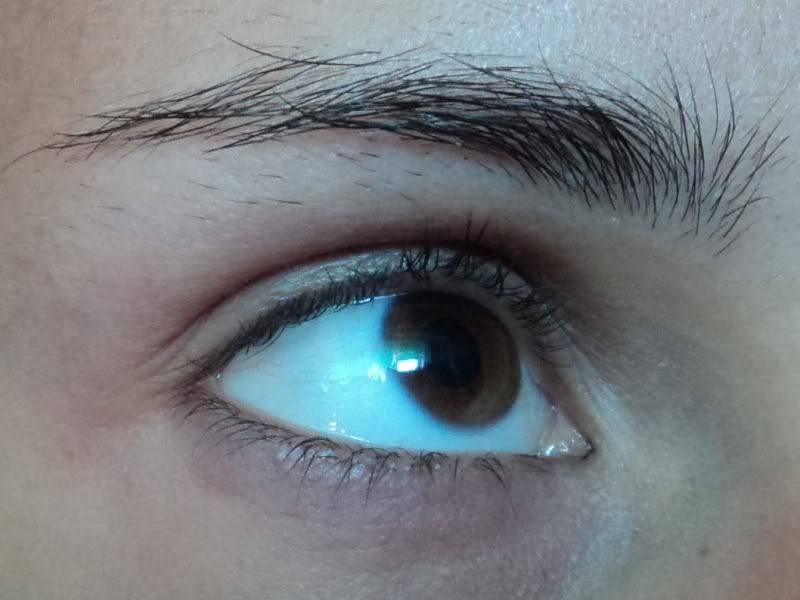
 Szczoteczka - step 1:


 1 warstwa(step 1):


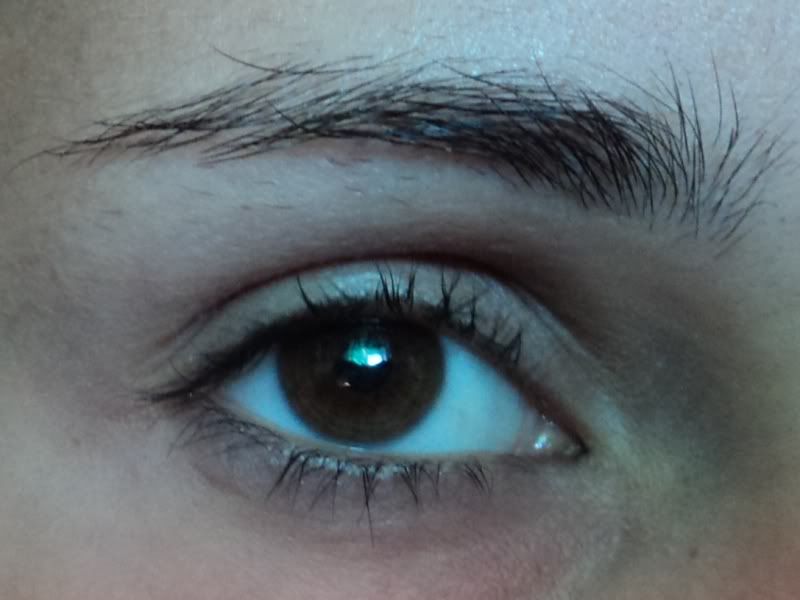
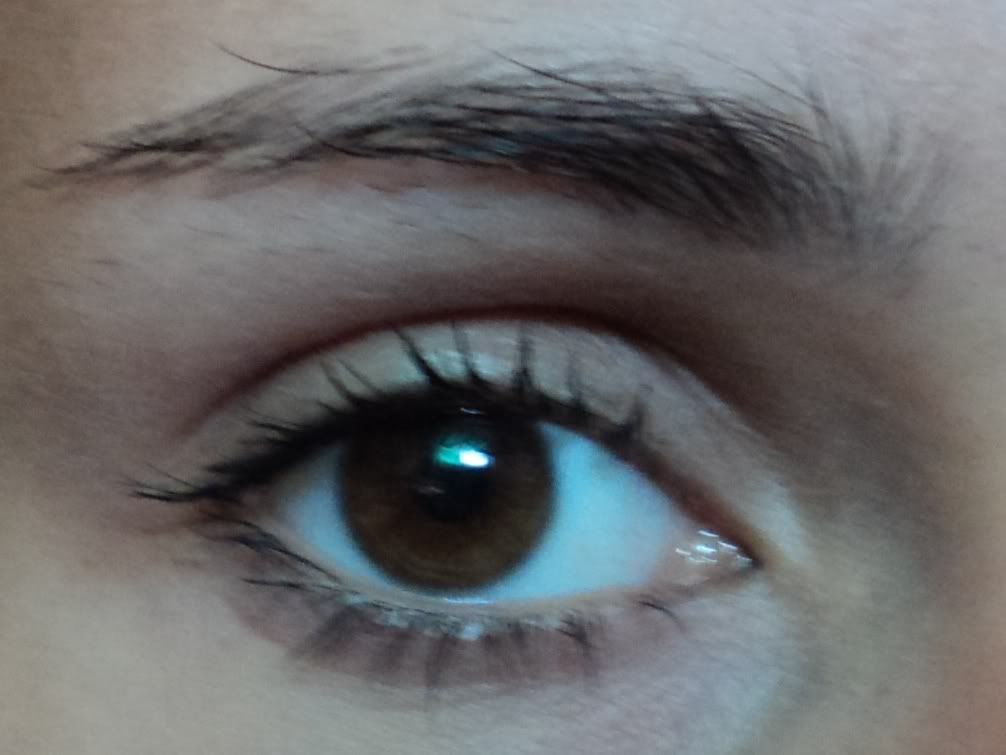
 Szczoteczka - step 2:


 2 warstwa(step 2):


Marka: YANQINA
Cena: 19,80 $
Ocena: :) 

Dear KKCenterHK, 
thank you very much for our partnership. I have known your product and I like it. I hope it's not our last contact. Iwould like to try more your products.

Thank you, zusska
Check out zusska blog
http://zusska.blogspot.com/2011/08/kkcenterhk-yanqina-2-in-1-classic.html

YANQINA 2 in 1 Classic & Dramatic Dazzle Mascara By ilarianails

Ciao a tutte ragazze,
ho ricevuto giorni fa, da Hong Kong, un prodotto dal sito KKcenterhk,uno fra gli ultimi arrivati YANQUINA ovvero il 2 in 1 Classic & Dramatic Dazzle Mascara.


Mi è piaciuto davvero molto. E' un bel nero decisamente intenso: n.01 Noir maximizer.E' possibile utilizzarlo in due step: il primo step ci da la possibilità di avere delle ciglia ordinate,definite ma molto naturali. Il secondo step invece è consigliabile per uno sguardo più intenso e seducente: le ciglia vanno ad aumentare di volume e lunghezza. Il mascara è composto appunto da uno scovolino che va a variare in base allo step che decidiamo.

Primo step: lo scovolino è più sottile,meno pieno proprio per dare un effetto più naturale alle ciglia.
Secondo step: lo stesso scovolino va a trasformarsi,diventando più grande e voluminoso per intensificare il volume delle ciglia e ottenere uno sguardo più intenso.
Ecco le foto step dopo step:

SENZA MASCARA
SENZA MASCARA
PRIMO STEP
PRIMO STEP
PRIMO STEP
PRIMO STEP
SECONDO STEP
SECONDO STEP
SECONDO STEP
SECONDO STEP
SECONDO STEP


SECONDO STEP
Ed ecco svelato perchè mi è piaciuto molto come mascara.Come avete potuto vedere non ho usato piegaciglia,è solo ed esclusivamente il mascara.
Mi è piaciuto anche perchè tutte la volte che l'ho utilizzato è rimasto sempre lì al suo posto,anche quando ho sudato non è andato a sciogliersi o a lasciare traccia.
Il formato di questo prodotto è di 11ml e ha una durata di sei mesi dall'apertura.Io l'ho ricevuto gratuitamente,ma il prezzo è di 19,80 dollari. Avevo la possibilità di scegliere un prodotto nuovo e mi sono orientata verso questo mascara.Di solito il mascara è il pezzo di make up che mi più accuratamente scelgo.Non ho ciglia lunghissime ma nemmeno cortissime, per cui non mi piace utilizzare su di me ciglia finte,preferisco sempre un mascara che vada a valorizzare le mie.E questo devo dire che mi è piaciuto e ve lo consiglio.
Se non lo conoscete il sito è: www.kkcenterhk.com
Ringrazio l'azienda che era impaziente di leggere il mio post,per avermi dato questa possibilità: Thank you very much for this wonderful product that you sent me. I found it really good, gave me good results and would recommend it to my readers.Thank you for this opportunity you have given me.
E vi do appuntamento alla prossima!

Thank you, ilarianails
Check out ilarianails blog
http://ilarianails.blogspot.com/2011/09/yanqina-2-in-1-classic-dramatic-dazzle.html

Fake Lashes From KKCenterhk By quinkitty

Hello everyone, how are you? I've been MIA because of exams and I had a lot of work to do that consists of me going to school having a 6 hours class. Yes one class lasts for 6 hours O_o well thats the longest it can get, cooking for the school's restaurant haha..

I love pastries more as opposed to cutting chicken so to me pastry classes are a lot more fun! Recently I've been using these eye lashes from kkcenterhk. They sent me these lashes in ES A29. I wanted lashes that looks natural yet have that sexy allure..


KKcenterhk.com

Synthetic lashes
They come in a box of 10 pairs

costs 6.50 USD per box
Made in Korea


The reason why these lashes look natural is because they are criss cross and criss cross usually have an easier time blending with your natural lashes so you don't have to use mascara, I recommend using a transparent mascara if you want to blend your natural lashes with the fake lashes


Before you apply them on, trim the edge of the lashes where it will be for your outer corner of the eye, for example this is going to be for my left eye, so I'm trimming the outer corner on the left, I turned it facing me so that I don't accidentally cut the lashes, however its upto you how long you want to trim it. The outer rim is what makes the lashes keeps its shape in place, so I recommend leaving the rest untrimmed until you need to use them
Snip Snip~

You should have something like this :) I used black glue

Without makeup
I used liquid eyeliner to fill in the gaps

Photobucket
I feel like it has that natural looking vibe, I've had many of the 10 pairs of lashes in a box like this but most of them are more dramatic. I prefer these lashes for every day use, plus nobody actually thought it was fake lashes at first glance. I like this for faking the natural lashes look, I like to wear more dramatic lashes but at the same time I wouldn't mind wearing these lashes for photoshoots either

This is how I like to wear mine, black pencil eyeliner on my waterline and tightline and liquid eyeliner of course!

Photobucket
The lashes looks natural in photos especially from far away. I was looking for other reference to lashes like this and I found this photo! It's Michelle Phan, I love her videos, I first saw her back in 07 when she only had 2 videos on youtube and back then she blogged a lot! I miss her xanga posts, she probably privated it because of the crazy haters..I for one am happy for her success
Can you tell that I'm liking my lashes? :)

Pro's
Affordable, you get 10 pairs
Reusable
Lightweight
Has that natural looking effect
Blends in with natural lashes

Con's

You have to be careful with the bands of the lashes, don't pull the glue too hard because they are not that durable
You might have to trim them down more if you have smaller eye width


Overall


I am happy with these lashes, I also find that if I stack them, they give off this really pretty dramatic lashes, I'll do a post on that one later, I also like the flirty and alluring eyes effect. I wear this with a lot of eyeshadow colors and it works! It's also comfortable and lightweight so I don't get that heavy eyes feeling throughout the day
Updates~
I went to Posh's nail spa to claim my Lucky draw of mani and pedi worth RM 128 yeay! It was great, They used mango scrub on my arms and white tea scrub on my feet for the free massage. The pink nail polish has glitter in it, its from Zoya, I have a true red color on my toe nails as always.

I have never spent money to get other people to do my nails before to be honest, I like to do them myself. A design per nail costs a lot over here 5 Ringgit per nail and 15 per nail for 3 D designs! Crazy right? For me, I'll probably paint on fake nails and reuse the 3D designs whenever, I can't stand having chunky nails all day.

If you're looking for a nails spa to wind down and relax, talk to the manicurists about your problems maybe then I recommend posh, speaking of nails, I recently got 3 drawers from 100 yen store, I already have a hello kitty drawer but I wanted something different for my nail polishes, I added the hello kitty paper wrapper that I reuse from my old board. I put all my nail polishes in there, I don't have a lot of nail polishes not even an OPI yet so this will do
Photobucket


II've been trying to make my mind on which palette to get, the Urban Decay Naked or the 15th Anniversary? hmm..I can't make up my mind! what do you think? What's good for a first timer.

Take care everyone and enjoy your coming weekends! :)


~Quin Kitty

FTC Disclaimer : I did not get paid to review this product, KKcenterhk provided these lashes for review purposes. All opinions are my own and are based from my personal experiences.


Thank you, quinkitty
Check out quinkitty blog
http://quinkitty.blogspot.com/2011/09/fake-lashes-from-kkcenterhk.html

X&D Nail Stickers Review By nailsbycourteney

Recently I received some X&D Nail Stickers from a company called KKcenterHK that was nice enough to reach out to me to do a review for them.  I was really excited to try them out thinking that they were going to be similar to the Sally Hansen Salon Effects.  To my surprise, upon receiving them, I found that X&D Nail Stickers are actually not stickers at all!!  They are water decals, actually.  I was pretty excited about it anyway, since I had never tried water decals before.  I got them in a super cute tulip/floral pattern on a white background (#14 on the website under X&D). 


Let me start off by saying that the people at KKcenterHK are very friendly and customer service was great.  They let me pick out the pattern I wanted and everything.  Shipping was really fast considering they are an overseas company.  Anyway, onto the review!!

*Please keep in mind that this was my first experience with water decals, and I may have made a few mistakes/done something differently than you would have.*

Application (forgot to take pics, oops!)
1. Started with clean, dry nails
2. I cut out all the decals and fitted them to my nails as best as I could
3. Let them soak one at a time on the water surface for about 30 seconds/until the decal peeled up
4. I took tweezers and positioned the decal on my nail and moved it around until it was in a position I was happy with
5. I took a cotton round and pressed down firmly until it stuck to my nail
6. I used the cotton round to smooth out any wrinkles until the decal was completely smooth on my nail
7. I lightly filed away the excess 
8. I added topcoat and I was finished

Here's the final result right after application:
Left Hand

Right Hand
Adding topcoat was a huge mistake, in my opinion.  This is what happened when I fussed with the topcoat application too much:

Right Thumb
It basically started crumbling.  I tried not applying topcoat at all, but the decal started peeling up right away.
By applying topcoat very sparingly and with only a few strokes, this is what happened:

Left Thumb
Much better, yes?

Immediately after applying these, I was really pleased with the outcome.  Considering I was a first-timer, I thought it came out pretty good and I was OK with the application process being difficult because they looked pretty nice.  As you can see, my nails are pretty short and the whole design didn't show up on my nail.  I expected this going in, though.  Like I said, topcoat presented an issue for me.  The decals started to crackle and fall apart as I was applying it.  I resolved this by applying topcoat very quickly and sparingly.  Now, I thought that these were going to last a long time, but I was very shocked at how little they held up.  They lasted for less than 24 hours.  I applied them yesterday evening, and this morning after my shower, they started popping off.  They came off all in one piece.  I think I probably should have used a base coat??  I tried to watch some tutorials on applying water decals, but none of them were consistent on procedure.  I feel like they would have stuck on better if I would have used base coat :/

Here's my list of pros and cons for you to consider:

Pros
There are a ton of patterns and designs available
They look great while freshly applied
They were the perfect shape for my nails.  I only had fitting problems with 2 nails
They are very affordable at only $4.74 per set
KKcenterHK customer service is very friendly and efficient

Cons
Lasting power is very poor
Application was difficult and time consuming
Not topcoat friendly, I tried three different ones

Too bad it couldn't have stayed like this, right??

*The product in this post was sent to me for review.  All opinions are completely honest and have not been influenced whatsoever.

Thank you, nailsbycourteney
Check out nailsbycourteney blog
http://nailsbycourteney.blogspot.com/2011/10/x-nail-stickers-review.html

Amazing Falsies from KKCenterHK By divamakeupqueen


\ OK, I gotta be honest with you.  I dislike wearing false lashes.  Why?  Because most of the time, they make my eyes water, and just make me feel very uncomfortable.  And trust me, I have tried all kinds of brands.  There are some that are better than others.  But after I found these falsies from KKCenterHK, my life changed.

Now, I am really not saying this just because they sent me this box of falsies to me, but because I am seriously just freakin' in love.  Why do I love them?

1) They are extremely lightweight
2) They look and feel natural, not at all heavy
3) These lashes are very flexible, so they can work with all eye shapes
4) They are bandless, so you can't even see a black line on your lash line
5) They are easy to trim.  Just cut them to fit your eyes
6) There are 5 pair in one box.  They will last forever

So, that's why I love them.  As you can see in my picture, they look very pretty and natural on me.
Here's the link if you want to buy some from KKCenterHK: http://www.kkcenterhk.com/p1794/AK-Brand-Eyelashes-HandMade-AK-603-%28Five-Pair-In-Box%29/product_info.html
You can see my tutorial using these lashes: http://www.youtube.com/watch?v=-na-D3d_tZo


Enjoy!

xoxo
Wing

Thank you, divamakeupqueen
Check out divamakeupqueen blog
http://divamakeupqueen.blogspot.com/2011/10/amazing-falsies-from-kkcenterhk.html

Review KKcenterHK Blonde Wig By vanitysmakeup

      www.KKcenterHK.com


ITA: Ciao ragazze! 
Oggi voglio fare questa breve review su una parrucca che mi è stata inviata dal sito KKcenterHk.

Questa è la parrucca che ho ricevuto! 

ENG: Hi girls!
Today I want make this review on a wig that KKcenterHk send me.

This is a wig that I recivied!

                                                  Shop Now!

ITA: Questo sito è davvero completo di tutto, ha tantissime parrucche di ogni genere, lunghe, corte, colorate e le più bizzarre! :)
Se avete intenzione di vestirvi da cosplay, ci sono anche le parrucche adatte al proprio personaggio e sono davvero tutte belle!
Se non volete, invece indossare una parrucca , potete acquistare tranquillamente le extension, anch'esse molto carine e particolari, con ogni tipo di fanstasia ;)

Ora però passiamo alla review di questa parrucca.
Ho avuto l'opportunità di scegliere e ho deciso di recensire questa parrucca che come potete vedere è la classica parrucca che possiamo trovare in un negozio di costumi per feste.

La confezione è ben sigillata e la parrucca è racchiusa da una retina e una bustina di plastica.

ENG:  This site is really full of all, has a lot of wigs of all sorts, long, short, colorful and bizarre! :) 
If you are going to dress for cosplay, wigs are also suitable to their character and are all very beautiful! 
If you do not want, instead of wearing a wig, you can easily buy hair extensions, also very nice and special, with all kinds of fanstasia;)

But now we come to the review of this wig.

I had the opportunity to choose and I decided to review this wig is a classic as you can see that we can find a wig shop costumes for parties.

The package is well sealed and the wig is enclosed by a net and a plastic bag


ITA: Insieme alla parrucca c'è una cartellino dove ci sono le istruzioni per lavarla e come asciugarla, purtroppo però non si può far uso di piastra altrimenti si "bruciano/sciolgono" dato che è sintetica.
Devo dire da subito che la parrucca è morbisissima e anche se sintetica non è lucidissima da far capire che è finta.
Non ho mai visto una parrucca così da sembrare proprio vera, credo che se la indosserei per uscire le persone non se ne accorgerebbero :D
L'unica cosa che non mi piace molto è la frangia, troppo lunga a mio parere e sul mio viso fa troppo "lady gaga" xD quindi ho optato per spostarla a un lato e al massimo metterci un ferretto.

ENG: Along with the wig is a card where there are instructions for how to wash it and dry it, but unfortunately you can not make use of plate or you "burn / melt.
I have to say now that the wig is synthetic morbisissima and even if it is not shiny as to understand that it is fake. 
I've never seen a wig so it looks really true, I think if you wear it out to people will not notice it: D 
The only thing I do not really like the bangs are too long in my opinion and my face is too "lady gaga" xD so I opted to move to one side and put up a clip.

ITA: Il costo di questa parrucca è di 11. 55 € più le spese di spedizione.
Nel complesso ritengo questa parrucca davvero ottima, anche per il prezzo è molto economica,infatti acquistare su questo sito ne vale davvero la pena e mi riferisco ad ogni categoria.
Questa è la mia veloce review, spero che in qualche modo vi sia utile.
Vi lascio sotto alcune foto con la parrucca indossata per vedere come rimane!

ENG: The cost of this wig is € 11. 55 + shipping.
Overall I think this wig really good, even for the price is very cheap, in fact, purchased from this site is really worth it and I refer to each category. 
This is my quick review, I hope that somehow you find it useful. 
I leave you with some photos below to see how the wig is worn! 


I prodotti recensiti sono un omaggio dell'azienda. Le opinioni qui espresse sono mie personali e non sono stata pagate per scrivere questo post.


Thank you, vanitysmakeup
Check out vanitysmakeup blog
http://vanitysmakeup.blogspot.com/2011/10/review-kkcenterhk-blonde-wig.html

2011年11月1日 星期二

7day 12%off discount coupon for blogspot's Follower

November prmotion for blogspot's Follower :
Coupon code : 12offBlogfollow
Expire : 8-Nov-2011
12% off
Thank you for blogspot's Follower .

Happy to shopping  Now !

http://www.kkcenterhk.com